
I have made this mistake myself.
You finish a mix. You put a limiter on it because louder feels better. Then you send that loud file for mastering.
The problem?
The loudness may have already flattened the kick, sharpened the cymbals and taken away the room the master needs.
I built this checklist from 15 years of mastering my own releases, remixes and club records. It is the check I now make before any mix leaves my session.
Mastering works on the whole stereo mix. The vocal, kick, bass and cymbals are joined together. One move affects all of them. A mastering tool can shape the final balance and loudness. It cannot reach into the file and move one bad fader.
Use this rule: if the problem belongs to one sound, fix it in the mix. If the whole song needs final balance, loudness and finish, that is mastering.
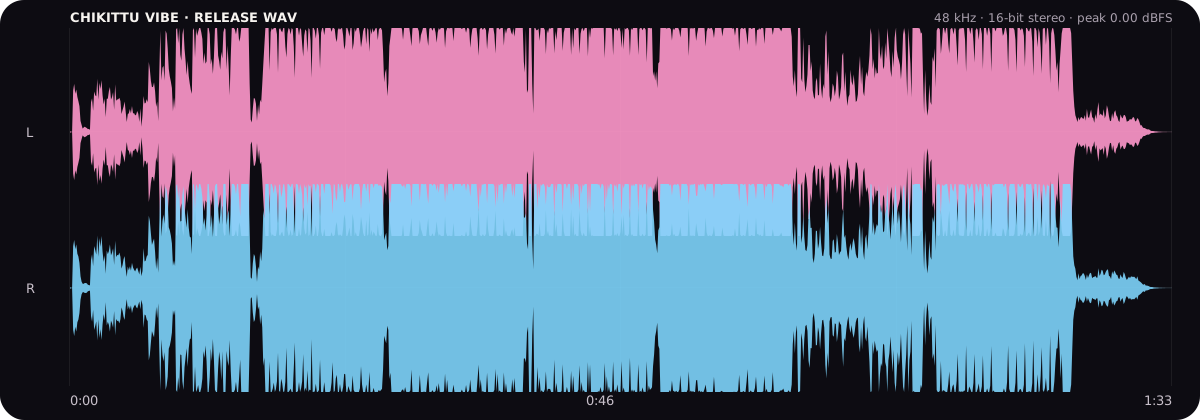
Should you remove your master-bus plugins?
Not all of them.
If you mixed through an EQ, compressor or saturation plugin, removing it can pull the sound apart. But a limiter added only to make the mix loud gives mastering less room to work.
Here is the decision I use:
| On your master channel | Keep it when… | Remove or bypass it when… |
|---|---|---|
| EQ | It is part of the balance you mixed into. | It is a last-minute attempt to make the whole track brighter or louder. |
| Bus compression | The mix falls apart without its movement or glue. | It is pumping, flattening the kick or added only for volume. |
| Saturation | Its colour is part of the sound. | It creates crackle, brittle highs or a smaller low end. |
| Limiter or clipper | Its distortion or movement is an intentional effect. | It is there only to make the mix loud before mastering. |
The plugin is not the decision.
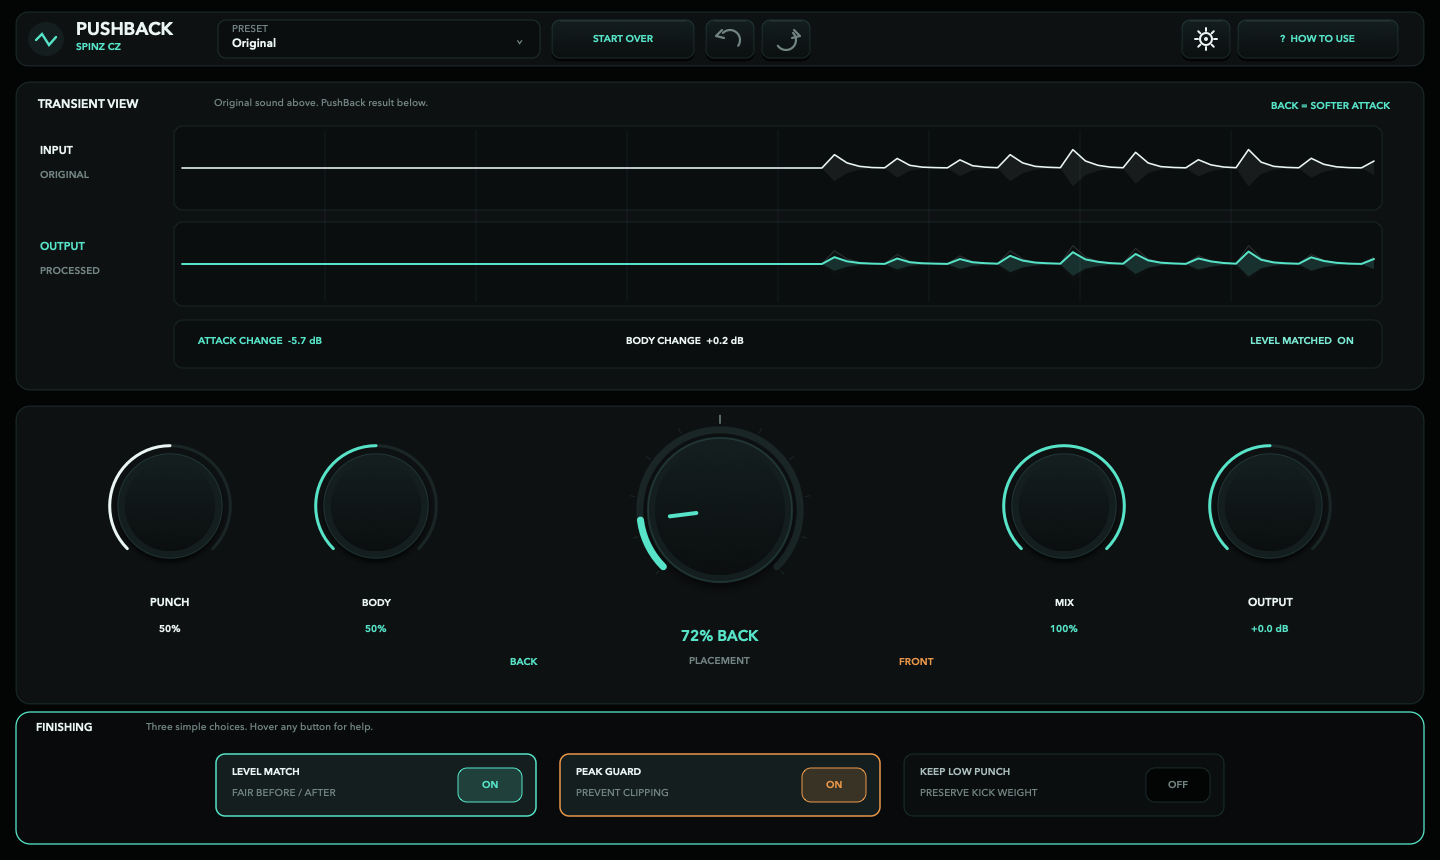
The same plugin can be part of your mix or just a loudness crutch. These real interfaces show three common situations.
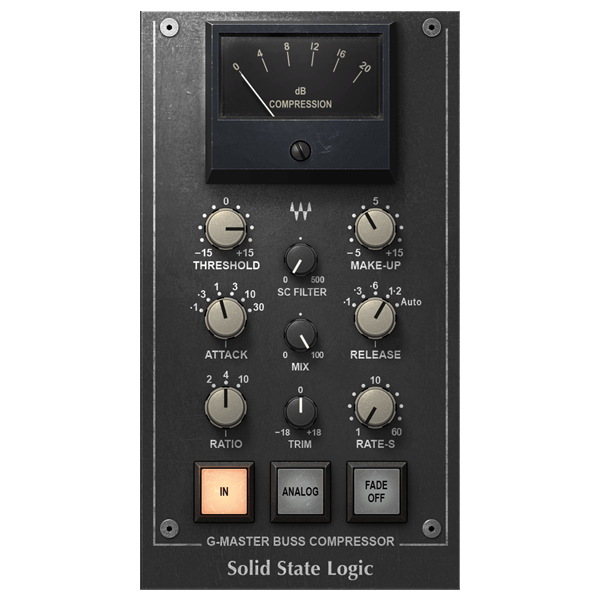
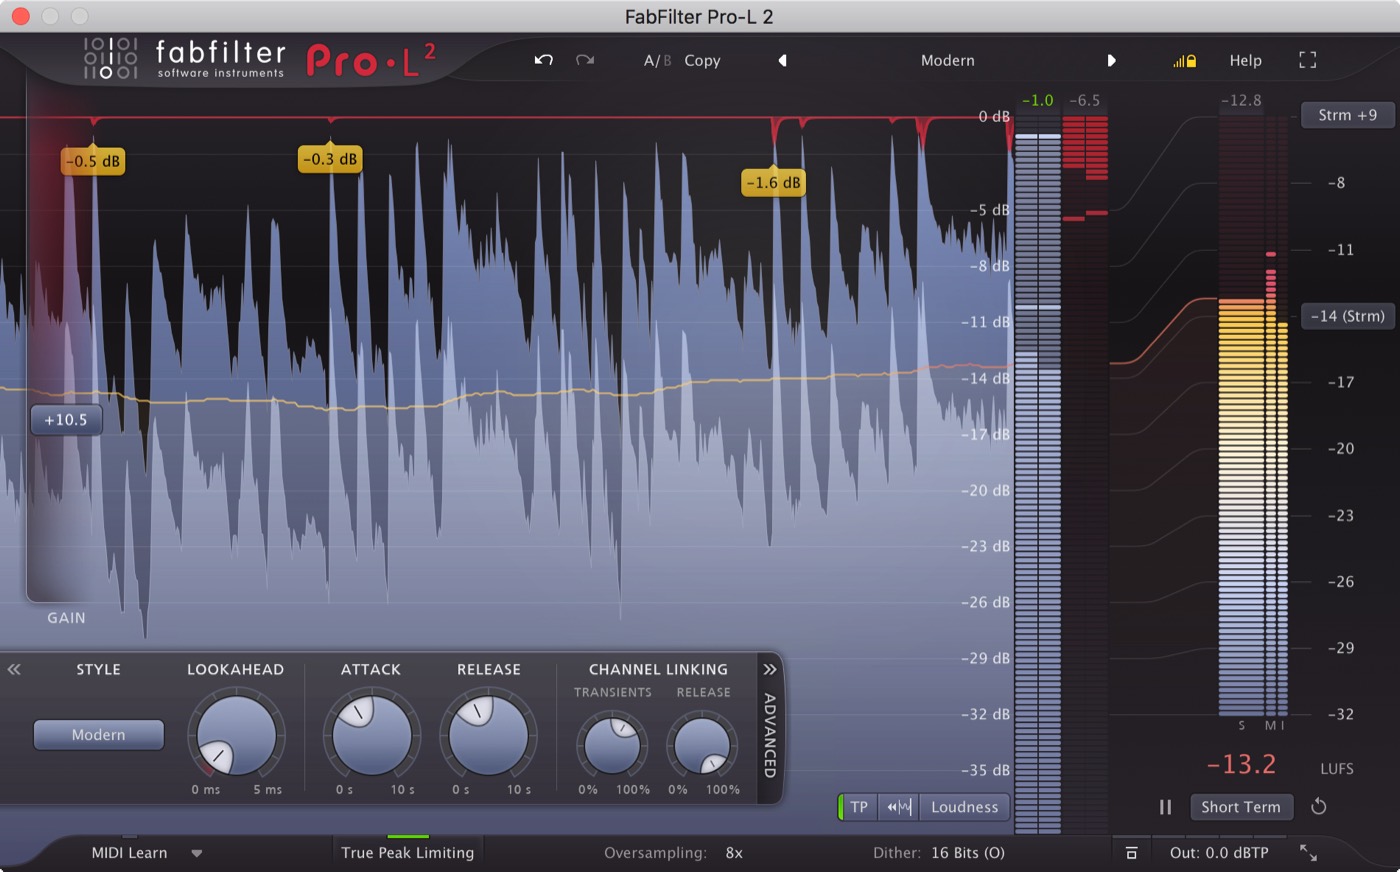
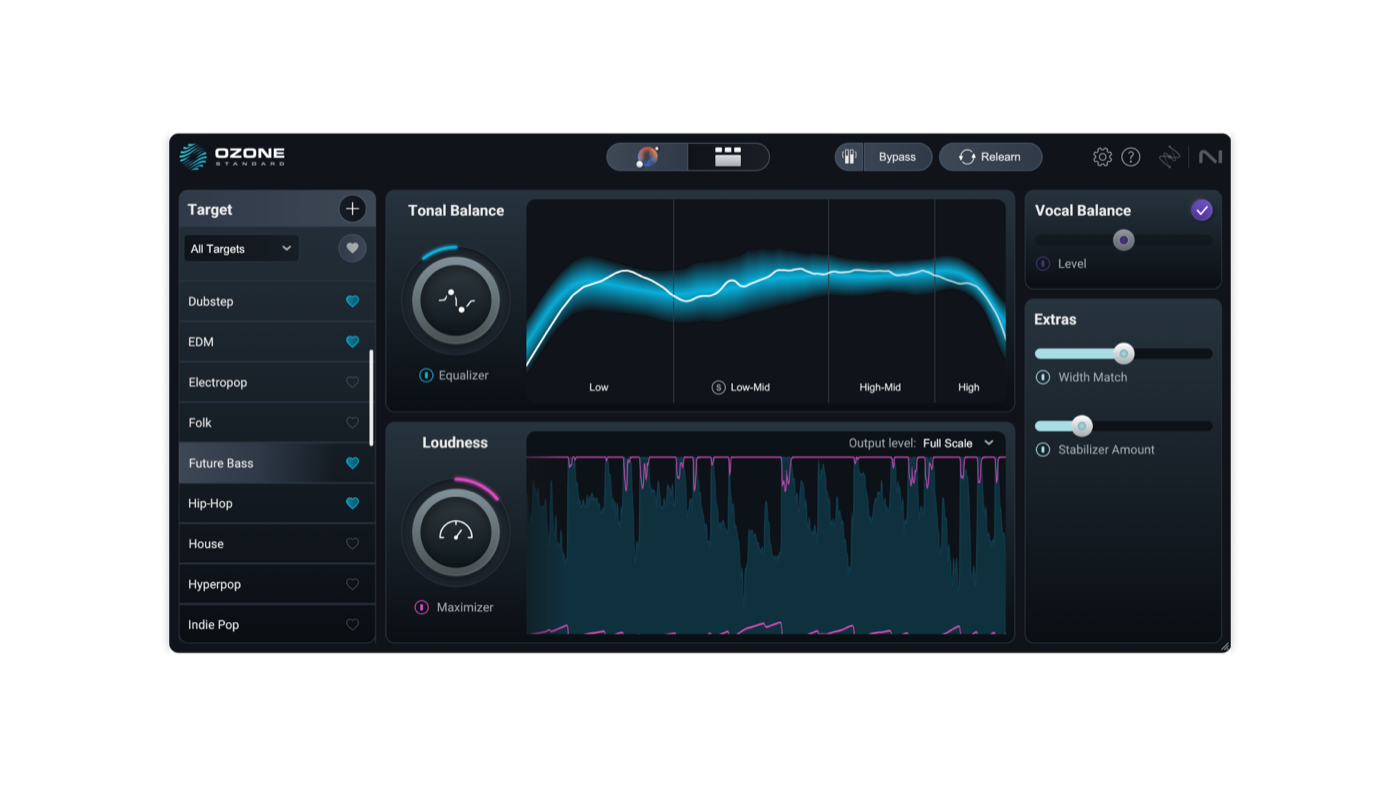
These are editorial examples, not endorsements or a buying list. Product names and interface images belong to their respective owners.
Still unsure?
Export two versions. Keep your mix-bus sound on one. Remove the loudness-only limiter from the other. Label both clearly. Now the mastering stage has a choice without guessing what you meant.
Ten checks before you export
Listen quietly from beginning to end
Turn the speakers down. At a low level, the song's balance becomes easier to judge. Can you still hear the vocal or main melody? Does the kick disappear? Does one cymbal take over every chorus? Fix those relationships in the mix.
Check the loudest section first
The final chorus, drop or outro usually decides how much room the master has. Loop that part and watch every channel, group and the master meter. A calm verse does not prove the full song is clean.
Remove every accidental clip
A red meter is not extra energy. It means a level crossed the available ceiling. Pull down the source, group or mix before it clips. Lowering the final output after the distortion happened only makes the damage quieter.
Leave practical headroom
Headroom is the space between your highest peak and digital zero. Peaks around -6 to -3 dBFS are easy to work with, but there is no prize for landing on exactly -6. A clean peak at -2 is better than a clipped mix turned down to -6.
Check the bass in mono
Play the mix in mono for a moment. If the kick or bass suddenly becomes much smaller, the left and right sides may be cancelling each other. Fixing that in the mix protects the weight of the master on phones, clubs and single-speaker systems.
Listen for harsh moments, not only harsh songs
A vocal “S,” crash cymbal or bright synth may hurt only once. Mark the exact time and fix that sound. Turning down the high end of the whole master later would also dull every good moment.
Clean the beginning, ending and gaps
Listen before the first note and after the last tail. Remove count-ins, mouse clicks and unwanted noise. Keep natural breaths, room sound and reverb when they belong to the performance. Add short fades so the file never starts or stops with a click.
Compare at the same loudness
A louder version nearly always feels more impressive for a few seconds. Turn your reference down until it feels equally loud, then compare vocal level, low-end weight, brightness and width. This tells you about balance instead of volume.
Export one full-resolution stereo WAV
Use the same sample rate as your project. Choose 24-bit PCM or 32-bit float. Turn normalization off. Do not change sample rate just because a platform uses another value later. Do not add dither unless you are deliberately reducing the bit depth.
Play the exported file outside your DAW
This is the step people skip. Open the actual WAV in a normal player. Check the first note, the loudest section and the ending. Make sure the automation worked, nothing is muted and this is the version you meant to send.
Use these export settings
| File type | WAV. AIFF is also lossless, but WAV is the simplest default. |
| Bit depth | 24-bit PCM or 32-bit float. Use 32-bit float when your workflow supports it and you want the safest handoff. |
| Sample rate | The same rate as your recording or mix session. Do not upsample just for mastering. |
| Normalization | Off. Do not ask the export window to raise the file to zero. |
| Dither | Off unless this export is reducing the bit depth. Dither belongs at the final reduction stage. |
| File length | The complete song, including count-safe silence, reverb tails and intentional fades. |
Only have an MP3?
It can still be mastered. But MP3 throws away audio information to make the file smaller, and no mastering tool can put that information back. Send the original WAV whenever you have it.
There is more on what each format actually costs you, measured rather than argued, in the WAV versus MP3 guide.
Fix these in the mix, not the master
- The vocal is too quiet only in the verse.
- The kick and bass fight on certain notes.
- One cymbal or “S” sound is painfully sharp.
- A delay or reverb is too loud behind one line.
- The master channel or any important group is already clipping.
- The drop feels smaller because too many parts enter at once.
A master may make these problems less obvious. But every broad fix creates a new compromise somewhere else.
Five more minutes in the mix can be worth more than five extra mastering plugins.
Your final mix-prep checklist
- The loudest section does not clip.
- The vocal or lead stays clear at low listening volume.
- The bass still works in mono.
- No loudness-only limiter is crushing the mix.
- The start, gaps and ending are clean.
- The export is WAV, 24-bit or 32-bit float, at the session sample rate.
- Normalization is off.
- You played the exported file and confirmed it is the right version.